
Why Creating a Studio Setup is Harder Than It Looks? Part 5 ... Creating Depth
May 10, 2026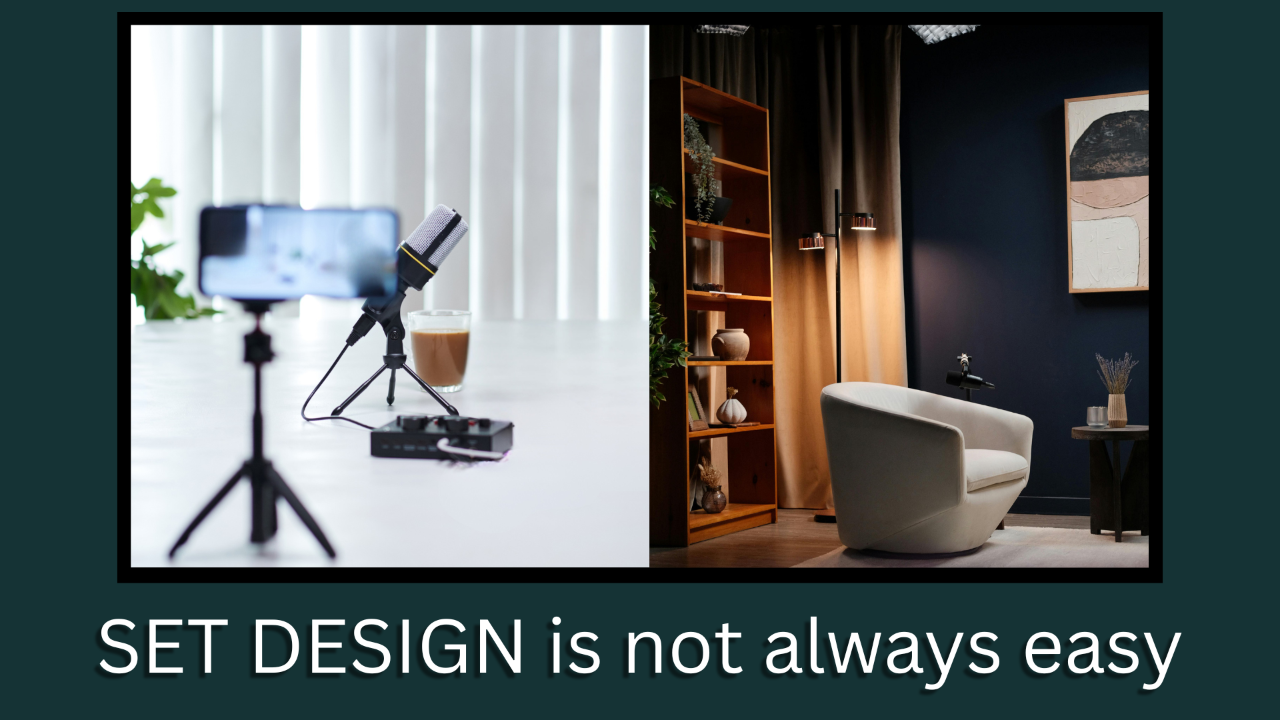
The short answer is…
You are not solving a design problem.
You are solving a communication problem visually.
So what if space is at a premium? How do you create depth in your Live Stream/Podcast set?
Glad you asked…
When physical depth is constrained you have to simulate it through layered cues.
Here are some distinct, field tested approaches that work in tight, space constrained locations…
#1 Artificial Parallax:
This is a fancy word for “you need more layers”.
For example, introducing a foreground element just inside the framed shot, such as…
– Edge lit plant leaves, a mic arm, a blurred desk object, or even a soft practical light.
– Keep it out of focus and positioned asymmetrical (left or right edge, not center)
Here is why it works…
Your brain reads depth when one object overlaps another. Even a few inches of separation between foreground, subject and background creates a layered composition.
Content creator Trish Reagan is a perfect example of this in practice. She uses this specific principle and a camera lens with a very low F stop.
Her laptop is in frame in front and to the viewers left out of focus, she is well lit and in perfect focus, and her background is softly lit and out of focus.
This creates the illusion of a large deep room with her as the primary focus the entire time, when in reality she is most likely in a small study/guest room just big enough to place a desk with a chair on one side and a book shelf on the other.
#2 Lighting Ratios
If you can not push the wall back then push it into the shadows.
Now I subscribe to the C.A.M.P. method of lighting a set which starts from the background out.
The acronym C.A.M.P. stands for Composition, Ambient Light, Modify or Add Light, Pose/Photograph/film with the camera.
– Before I even place the subject into frame, I spend the time and effort to light the background for the desired ambiance or effect.
– I under expose 1 to 2 stops
– I add small accent lights as needed to create highlights and accentuate negative space.
– I then place the subject in frame and light accordingly
– Add foreground objects that are subtly lit and out of focus when or as needed to complete the depth illusion.
Depth is perceived through contrasting gradients and focus. A brightly lit subject versus a darker selectively lit and out of focus background and foreground creates separation even at short distances.
#3 Hair or Rim Lighting
If your background is subtly lit then using a “Hair or Rim light” will give you the biggest bang for your buck in getting your subject separated from the background.
– Place a small light above and behind your subject aimed at their back/shoulder line.
– Keep it subtle and just enough to outline their silhouette.
This works by literally outlining your subject with light from the background.
This is the same technique TV and Movie studios use to create an angelic glow on an actor/actress, just to a lesser degree.
Any inexpensive light will work for this. Use color contrast such as cool key light and a warm rim/hair light to increase the perceived visual depth.
#4 Lens Compression
Using the correct lens for the specific effect and width of your framing is key here.
– A 14-50mm lens: Depending on the width of your framing, choosing the correct lens focal length is key.
– Choosing an F stop of 1.2 to 2.0’ish will give you the blurry background, (Bokeh), and the blurry foreground to cheat depth when you do not have it physically.
– Move the camera back as much as is practical and set your framing from there. Even 6 to 12 inches can make a huge difference in the perceived depth.
When possible, using longer focal lengths tend to compress the available space and enhance the background and foreground blur with the subject prominently in focus.
As a caution, ultra wide angle lenses used in tight spaces can exaggerate wall proximity and have a parallax issue of warping the edges of the frame.
But does all this actually move the needle?
Yes, yes it does!!!
If you use these principles in a constrained environment, the perceived depth will come from the “layer stacking” and not from actual distance. Such as…
– Foreground Element (even minimal)
– Clearly and well lit subject
– Controlled, darker background with selective highlights
If you combine the principles in #2 (background lighting fall off) with #3 ( hair/rim light) you will be 70% of the way to a “professional depth” look.
Add #1 (foreground) into the mix and it starts to feel and look intentionally cinematic rather than improvised.
If you are just starting down the Live Streaming/Podcast path,
Let's talk and see if I can help you navigate through it all.
Until the next installment...
⬇⬇⬇
Stay Connected with News, Updates and Offers from
Live Stream Consultants LLC
Join the Streaminati Mailing List now.
We hate SPAM. We will never sell your information, for any reason.
