Why Creating a Studio Setup is Harder Than It Looks? Part 2 ... Lighting
Apr 29, 2026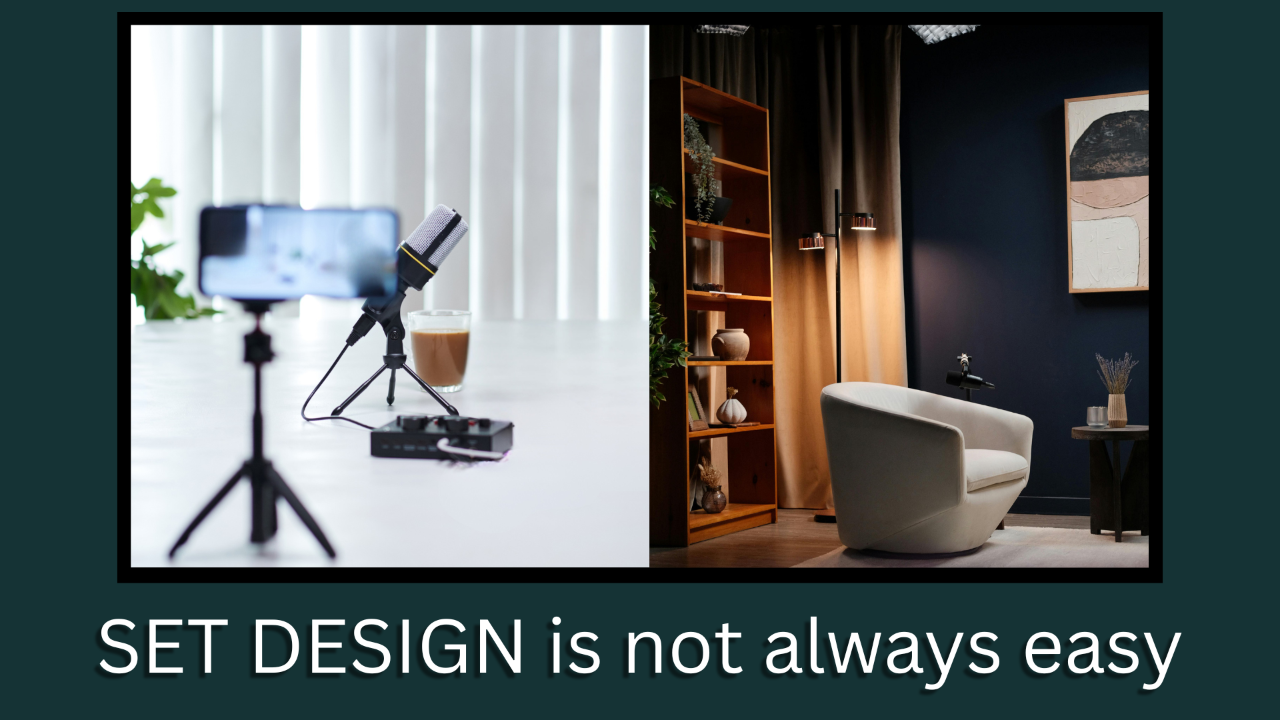
The short answer is…
You are not solving a design problem.
You are solving a communication problem visually.
Lighting can be counter intuitive and punishing when done incorrectly. Small mistakes, such as shadow placement, color temperature mismatch, overexposure on skin tones can be brutally obvious on video, even if they are barely noticeable in real life.
When it comes to Live Stream/Podcast background set design in relation to lighting, there are a number of different camps.
Many “YouTubers” insist and subscribe to lighting the subject first with large parabolic grid diffused soft box lights and then try to make the background fit.
Yet others insist on the tried and true 3 point lighting system, again focusing on the subject first then dealing with the background as an afterthought.
And yet there is another group that uses the C.A.M.P. method of Composition, Ambient Background Lights, Modify the composition and light placement to highlight the subject and Photograph or Film/Record.
Choosing a lighting philosophy for your Live Stream/Podcast set can be a challenge. Usually it comes down to a choice between "Efficiency", “Atmosphere” and “Space”. No matter which lighting philosophy you choose to follow, often in the end you have to make compromises between them to fit your unique space and situation.
Here is a breakdown of Pro’s and Con’s for the 3 main lighting approaches…
Subject First (Parabolic/Grid Focus)
This is the “Pro-Tuber” standard which relies on a high quality COB studio light with a large softbox modifier or parabolic modifier with a grid attached to control the spill light.
This style of light is intended to make the subject look as flattering as possible.
Pro’s…
– Commercial Quality: Soft, wraparound light that hides skin imperfections and provides that “High End” look.
– Speed: Once your “Key Light” is set, you know the subject looks good regardless of the background set decoration. This allows for the background to be as simple as is practical.
– Focus: It creates a clear hierarchy of importance. The subject is the clear focus of attention.
Con’s…
– Risk of the “Floating Head”: If the background is not addressed well enough, the subject can look as though they are sitting in a dark void or worse, a disconnected space.
– Spill Light: Large softboxes can be difficult to control. Without a grid to control where the light goes, light spilling onto the background will wash out your set design.
Traditional 3 Point Lighting System
This is the classic Key, Fill and Rim or Hair Light setup.
It is the foundational technique taught in film schools.
Pro’s…
– 3 Dimensionality: The Rim or Hair Light is the star here, creating a “halo-like” effect that separates the subject from the background physically.
– Predictability: This method works in almost every room or set situation creating a “Broadcast News” aesthetic.
Con’s…
– Flatness: It can look too corporate or dated if it is not executed with care and intent.
– Complexity: Managing the light stand placement, power cords and the cable management of all the other equipment as well as the potential trip hazards in a small office or home studio can be a nightmare.
The C.A.M.P. Lighting Method
(Composition, Ambient, Modify, Photograph/Film)
This is a “Background Out” approach. You build the environment first, then carve out a spot for the subject.
Pro’s…
– Immersive Depth: Because you start with ambient and practical lights, the set feels like a real place rather than a backdrop.
– Color Control: It’s much easier to balance the color temperature of your subject to match the room than it is to force a room to match the subject.
– Visual Story Telling: The “Composition” step of this method sets the mood and tone of the overall message before the subject is even introduced into the set.
Con’s…
– Time Intensive: This method requires more trial and error to find the correct balance of light and ambience to meet the overall message you are trying to evoke without words.
– Gear Heavy: Usually requires many more practical lights and accent lights in addition to your main subject lighting. This also potentially includes more set dressing items such as wall hangings, potted plants, end tables for table lamps as well as more power cords and stands for lights.
To wrap this all up into a nice little package with a pretty little bow on top…
The “Subject First” method is best used for educational situations or tutorials. It is clean, professional and direct.
The “3 point Lighting” method is best used for interviews and news type shows. It is classical, formal and polished.
The “C.A.M.P.” method is best used for gaming, podcasts and consulting. It is cinematic, high depth and can be made as moody as desired.
The lighting method you choose will depend mostly on the primary goal and message you are trying to get across to the viewer before you say a single word.
If you are just starting down the Live Streaming/Podcast path,
Lets talk and see if I can help you navigate through it all.
Until the next installment...
⬇⬇⬇
Stay Connected with News, Updates and Offers from
Live Stream Consultants LLC
Join the Streaminati Mailing List now.
We hate SPAM. We will never sell your information, for any reason.
